
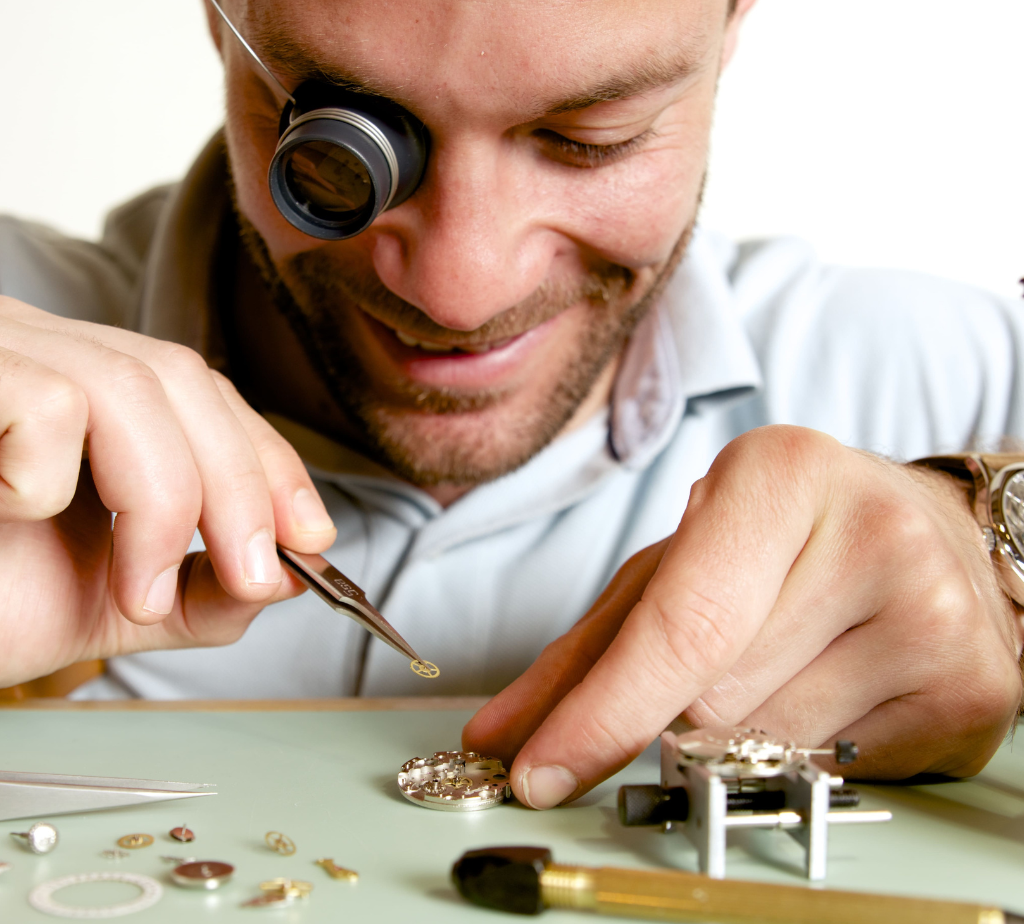
Did you know that the tensile strength of a mainspring made from 1.4452 steel exceeds that of traditional Nivaflex by nearly 23%? Yet, despite the robustness of these modern alloys, the slightest mishandling when opening a timepiece can permanently disable the mechanism. It is all too easy to scratch a bridge or bend a pivot simply due to a lack of proper method. To avoid such mishaps, we will guide you step-by-step through the process of dismantling a mechanical watch according to professional standards, ensuring the safety of every component of your precious movement.
Preparing your workbench to disassemble a mechanical watch
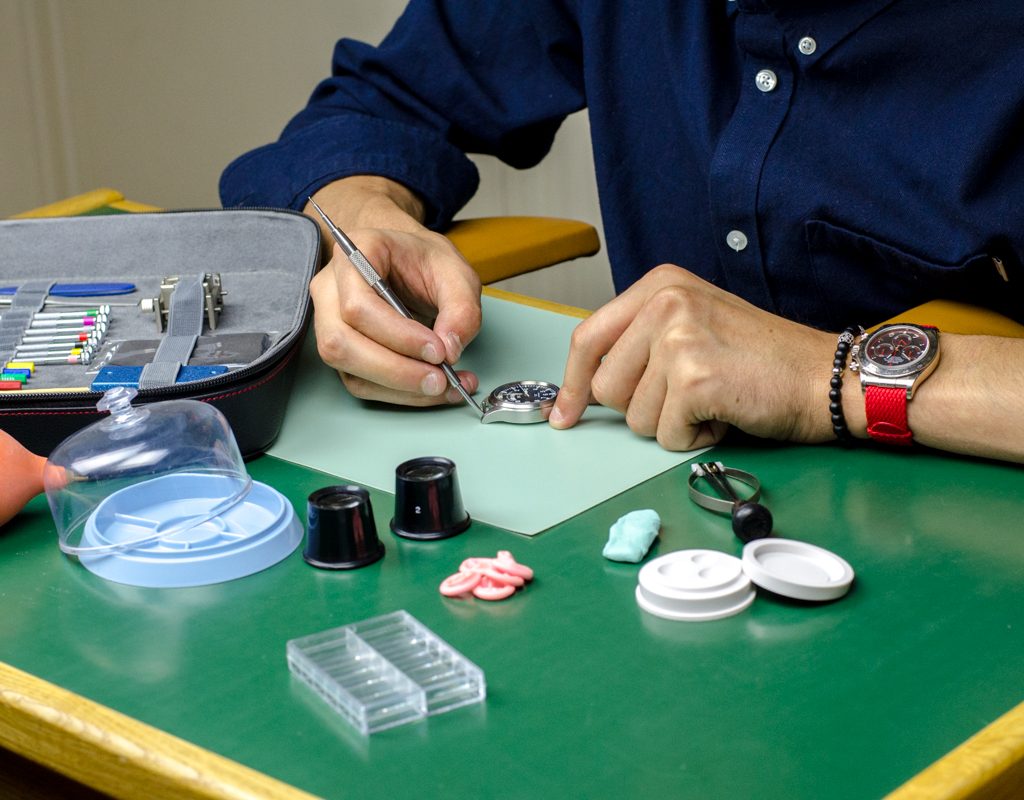
Safe disassembly requires a set of non-magnetic screwdrivers, precision tweezers, and a pristine workspace. Releasing the tension on the mainspring prevents mechanical breakage, while a compartmentalized tray keeps essential components organized. Before undertaking any procedure, we must ensure that our environment reflects the rigor of the art of watchmaking.
Essential tools for the amateur watchmaker
Precision screwdrivers and non-magnetic tweezers are indispensable. They protect the bridges from unsightly scratches and prevent the magnetization of delicate movement components. The watchmaker’s loupe allows for rigorous inspection. The movement holder ensures perfect stability. The oilers will be set aside until the final lubrication stage.
Set up a stable, well-lit workspace.
Opt for a powerful white light to eliminate any cast shadows. This brightness becomes your best ally when handling microscopic screws. Set yourself up on a flat, clean, non-slip surface. Adjust the height of your seat to keep your back straight. Your elbows should rest comfortably on the edge of the workbench.
Meticulous organization and storage of components
Always use compartmented trays to protect your parts. Carefully separate each group of components. Never mix screws from different bridges. Take close-up photos during each stage of the disassembly. These visual references will ensure your subsequent reassembly is carried out with absolute precision.
How do I open the case and remove the movement?
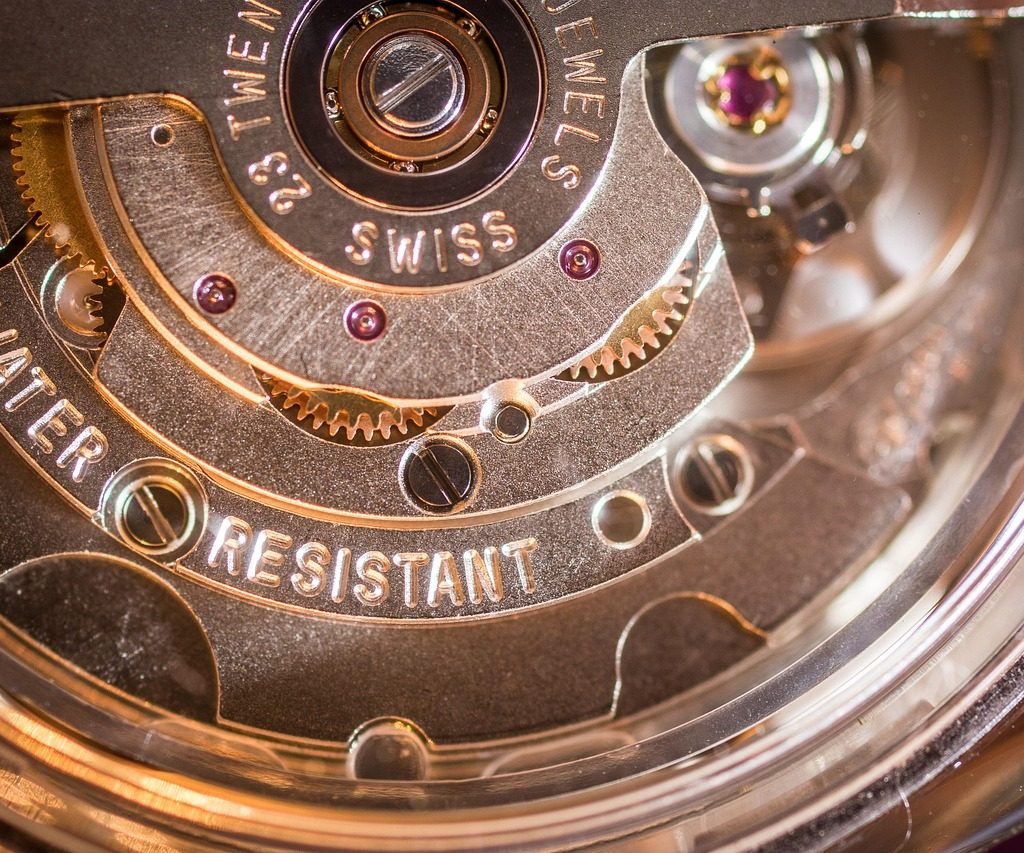
Once your environment is perfectly set up, you must access the heart of the watch by removing its outer casing.
Differentiate opening methods based on the substrate.
Determine whether the case back is screwed on or simply snapped in place. For a screw-on case back, use a specialized three-point wrench. Then, turn it counter-clockwise. For a snap-on case back, gently insert a watchmaker’s knife into the notch. Carefully remove the gasket, taking care not to pinch it. This step requires a delicate touch.
Remove the winding stem without forcing it.
Locate the push-button or setting lever screw on the movement. Press lightly while pulling the crown outward. It is often necessary to be in the time-setting position. Never force it if you feel abnormal resistance. Rough handling can damage the time-setting mechanism. Be patient and precise in your movements to preserve the integrity of the movement.
Safely remove the caliber from its housing.
Grasp the movement by the edges with your tweezers. Avoid touching the dial or hands with your bare fingers. Use a casing cushion to protect the assembly from scratches. Immediately place the movement on a suitable movement holder. Tighten moderately to secure the assembly without crushing the peripheral components. You can now admire the mechanical architecture revealed before you.
3 steps to disarm and release the regulating organs
With the movement now exposed, the next step is to neutralize the stored energy in order to handle the most fragile parts.
Mastering the unwinding of the mainspring
Hold the crown firmly between your fingers. Move the click aside with a fine point to release the tension. Allow the crown to rotate slowly to let the mainspring unwind. This prevents any violent recoil of the internal mechanism. A sudden release of the mainspring would instantly snap the gear teeth. Always control this flow of energy. That is the secret to safe handling.
Remove the balance-spring assembly and the pallet fork.
Unscrew the balance bridge with extreme care. Lift it vertically to avoid bending the hairspring or breaking the pivots. This operation requires absolute concentration to preserve the regulating organ. Next, remove the pallet fork by unscrewing its small bridge. This component acts as the movement’s lock; removing it releases the gear train. The heart of the watch then ceases to beat.
Bridge Removal and Screw Management
Loosen the bridge screws gradually to avoid mechanical stress. Always use a screwdriver that fits the slot exactly. An unsuitable tool is your timepiece’s worst enemy. Place each screw next to its corresponding bridge within the movement housing. A slipping screwdriver will permanently scratch polished surfaces. Meticulousness ensures reassembly proceeds without issues or unsightly scratches.
Dismantle the gear train and anticipate maintenance.
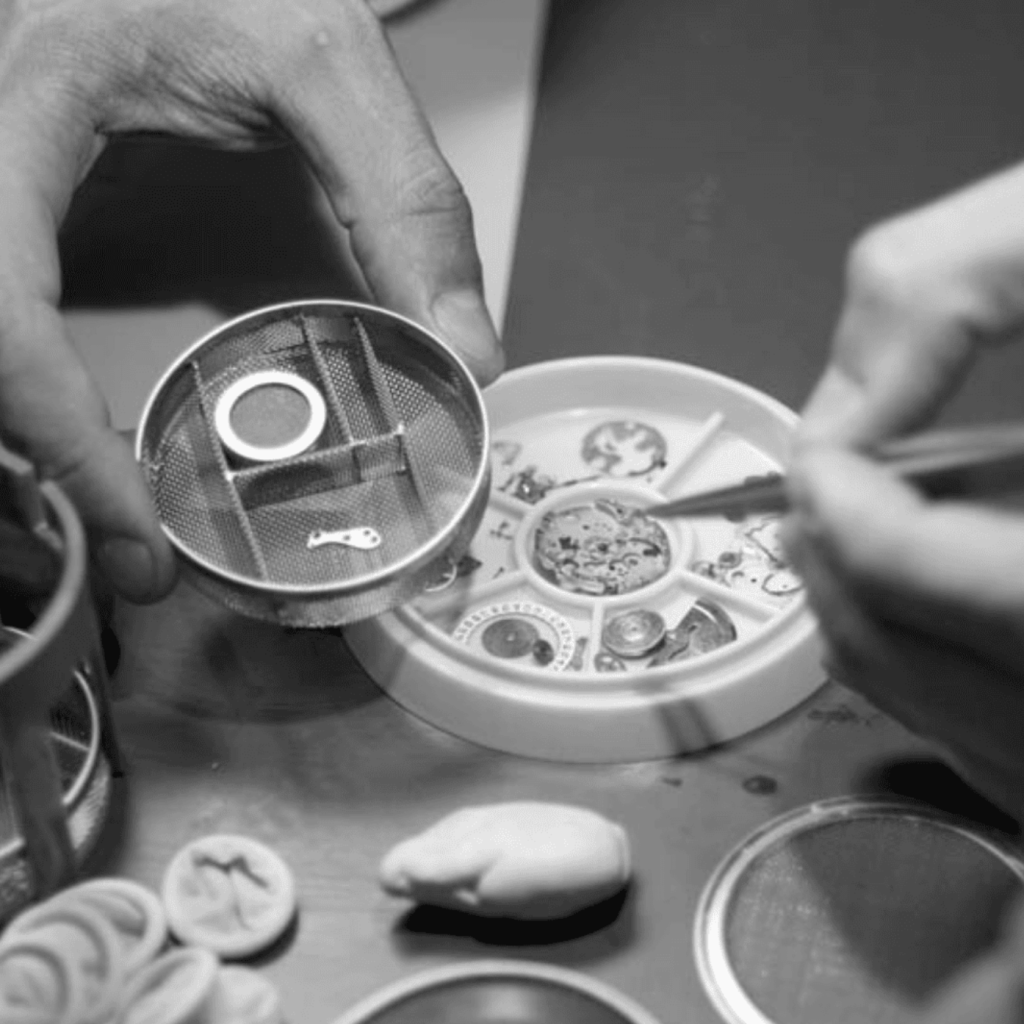
Once the regulating organs are safely stowed away, you can finally explore the gear train that transmits the motive power.
Transmission wheel removal sequence
Remove the escape wheel, the second wheel, and the third wheel in succession. Finish by extracting the barrel—the true energy reservoir. Carefully observe how the teeth mesh before removing everything. Every movement requires absolute precision. Note the exact direction of rotation for each moving part. This will make future reassembly easier.
Visual inspection and lubrication principles
Examine the wear on the teeth and the cleanliness of the jewels using a loupe. Any residue of old oil must be removed through thorough cleaning. The clarity of the components is paramount. Ensure the use of fine oils specifically suited to each friction point. Proper lubrication guarantees the longevity of the mechanical movement. It is the secret to consistent timekeeping.
The benefits of learning guided by experts
Theory never replaces the technical movements demonstrated by a professional. An expert corrects your posture and handling techniques in real time. This direct instruction is irreplaceable for making progress. Objectif Horlogerie offers hands-on workshops to master these delicate steps. Learning from specialists helps you avoid costly mistakes on your own watches, thereby ensuring the safety of your timepieces.
To successfully disassemble a mechanical watch, using non-magnetic tools, meticulously unwinding the mainspring, and maintaining rigorous organization under a dust cover are your best allies. Grab your loupe now to explore this beating heart and breathe new life into your favorite timepieces. Master the art of the infinitely small to become the guardian of your own time.
FAQ
What are the essential tools for dismantling a timepiece?
To approach this discipline with the necessary rigor, you must equip yourself with a set of high-precision, non-magnetic screwdrivers designed to avoid interfering with the movement’s sensitive components. Quality tweezers, a watchmaker’s loupe for meticulous inspection, and a stable movement holder complete this essential toolkit for safe handling.
Why is it crucial to use non-magnetic tools during your operations?
The use of non-magnetic tools—often crafted from special stainless steel or bronze—protects the watch’s vital components from unwanted magnetic fields. Even slight magnetization of the hairsprings or pivots could irreparably impair your caliber’s chronometric precision, or even cause its steady beating to stop completely.
What is the recommended method for releasing the energy from the mainspring?
Letting down the power is a delicate procedure that requires holding the crown firmly while disengaging the click with a fine-tipped tool. You must then allow the winding stem to slip very gently between your fingers, letting the mainspring unwind gradually without the risk of breaking gear teeth through a sudden release of energy.
How do you go about removing the movement from its case without damaging it?
Once the case back has been unscrewed or unclipped—depending on its type—you must release the winding stem by gently pressing the setting lever. Then, grasp the movement by its outer edges using your tweezers, taking great care never to touch the dial or hands, before placing it safely on its work holder.
In what order should the moving parts be removed from the gear train?
We recommend proceeding methodically by successively removing the escape wheel, the second wheel, and the third wheel, finishing with the extraction of the barrel. It is essential to carefully observe the meshing of each tooth and note the direction of rotation of each component to ensure a perfectly smooth and functional reassembly.
How can you ensure optimal organization of your components during disassembly?
An organized workbench reflects your precision: use compartmentalized containers to keep groups of parts separate and avoid mixing up screws. We strongly recommend taking macro photographs at every key stage; this creates a valuable visual guide that will greatly simplify the reassembly of your mechanism.

